

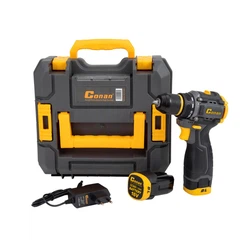

1. Unplug the hand drill connected to the socket to ensure circuit safety during maintenance.
2. Put the electric drill on the workbench, use a screwdriver to loosen the self-tapping screws or screws on the shell of the electric drill, and open half of the shells; generally, the structure of the new electric drill is semi-embedded, that is, all the machine, electric Components are installed in another...
3. Remove the carbon brush in the casing, then take off the end of the drill chuck, and then gently lift the motor to take out the rotor, do not scratch the enameled wire, wipe the commutator on the rotor with a paper towel, if it is too dirty or severely worn You can use emery cloth first...
4. Wipe the dust and dirt on the front and rear bearings of the rotor. If the bearing is sealed, you can wipe the outside clean. If the seal is broken, it should be replaced in time.
5. Clean the helical gear shaft in front of the rotor, clean the oil inside the casing, and clean the helical gear on the drill chuck rod and the bearings (or bushings) at both ends.
6. Reinstall the removed and wiped parts according to their original positions. Install the rotor first, then the helical gear of the drill chuck rod, and then install the carbon brushes. If the carbon brushes are shorter than 7-8 mm, they should be replaced in time. The brush should be installed and flattened, and finally add a little grease between the gear pair and the bearing. After all the parts are installed and flattened and checked, the other half can be covered, the screws are tightened, and there is no sticking feeling when turning by hand, and it can be powered on and run.